(8/6-16/2002) - I got my parts back a day early, so I started ASSEMBLING!!
![]()
The first thing that I did was re-trial fit EVERYTHING. I also decided to dial in my cam NOW, so I wouldn't have to do it later (its SOOOOOO nice to just be able to bolt everything together and not have to measure anything).
I checked my pulley to make sure the degree marks were correct, and they WERE! (that was a bit surprising!), but I decided to print up a degree wheel to aid in reading the degree's (my pulley is only marked in 2 deg. increments).
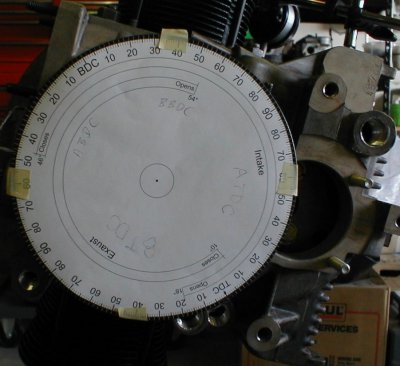
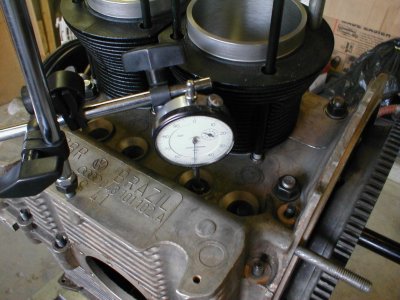
I used the dial gauge on my dummy lifters to check when the Intake opens, closes, and exhaust opens, and closes - in order to get the timing pretty close.
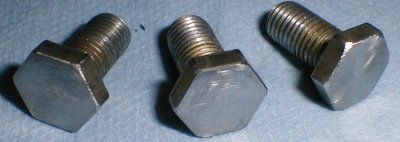
When I trial fitted my oil pump, the bolts from the straightcut cam gear interfered with the pump... I clearanced the tops of the bolts a little - this got me .015" clearance, but I needed .040" clearance. So I took off .025" from the part of the pump that was interfering with the bolts.
![]()
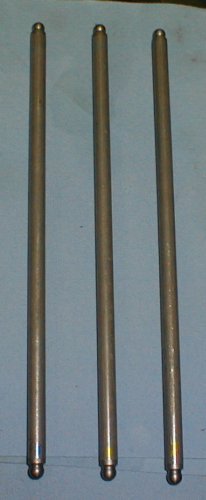
I also set up the valvetrain geometry while I was there. I took the super-heavy-duty aluminum pushrods to a machineshop and chucked them into a lathe to cut them (makes them square - and its real easy). To get the ends in, I just used 2 old lifters (one on each end) and hammered one until the end went in. Let me tell you, THESE pushrods are WORTHY of the name "super heavy duty"! The chuck from the lathe didn't even leave a MARK on them (and they took a while to cut).
![]()
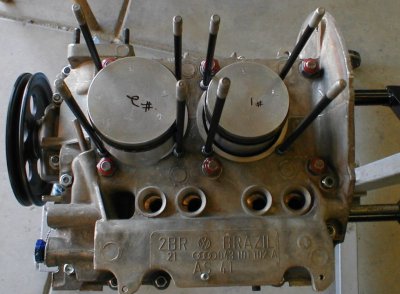
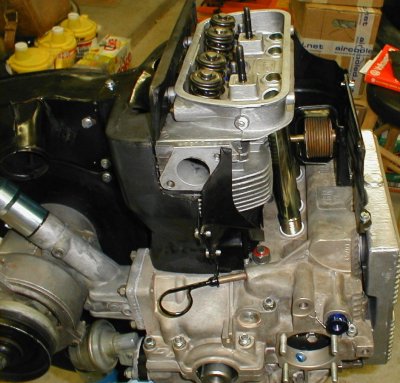
With all the trial fitting and measuring done, it was time to start bolting stuff back together! I started with the crank and rods.

Then I put the cam in, and lubed everything up (the red stuff on the lifters and cam lobes is the special (torco) cam lube that comes in the box).
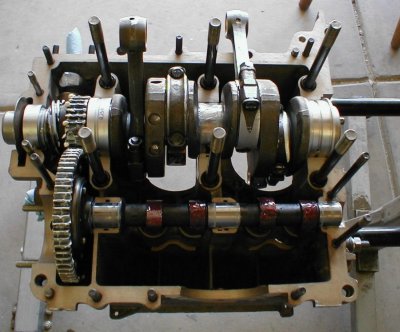
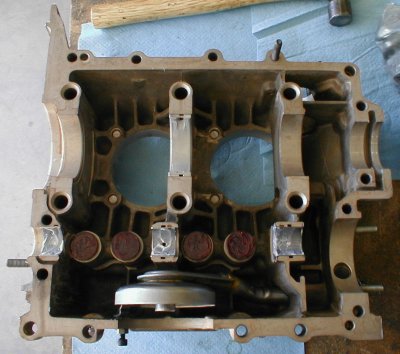
Then I torqued the case nuts down! WOHOO! I DID use new sealing nuts on the 6 LARGE studs, but I decided to put them red side out (since there are 'o' rings around the studs anyway.)
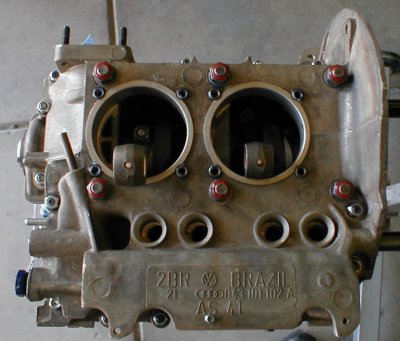
Got the head-studs in.
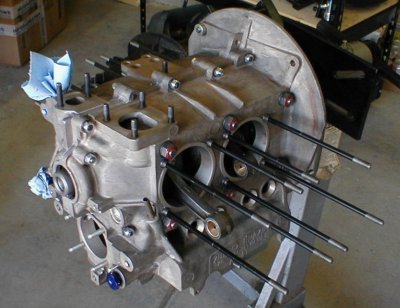
Got the rings on and pistons in.
Now all that's left is engine tin, and other 'small stuff'.
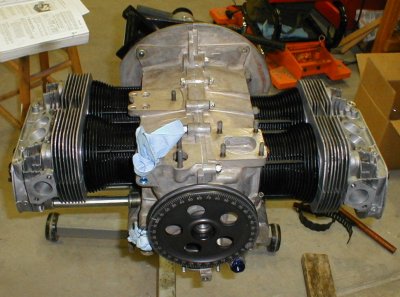
I put the sump extension on.
Then I bolted the sump on.
![]()
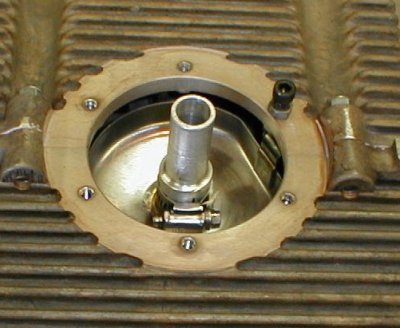
Now it was time for the oil cooler. I decided I wanted to test it to make sure it wasn't leaking -so I made a custom tester.
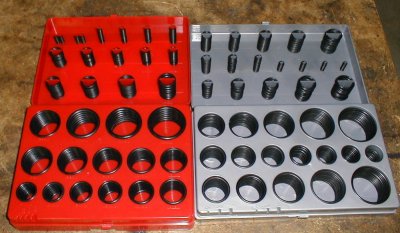
I just took a piece of aluminum bar-stock and drilled the holes in it to mount to the cooler, and used 'o' rings (from my collection - see pic below) to seal it up to the cooler.
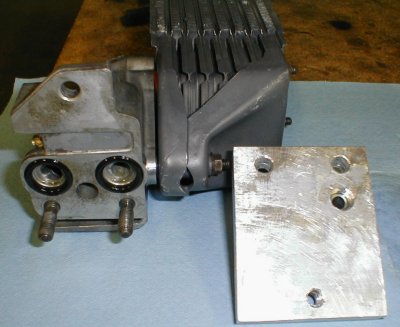
Then I installed an air-hose fitting, and bolted everything down.
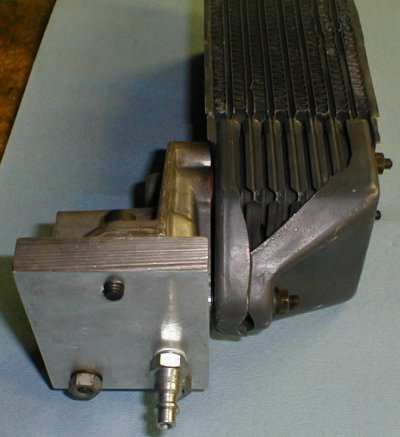
With a bucket full of soapy water (the soap helps break the surface tension - which gets rid of the trapped air bubbles when you 'sink' the cooler in the bucket) I started at 30psi, and took it up to 90psi. I was satisfied when it didn't leak at 90psi, but I'm positive it could've probably handled closer to 200psi.

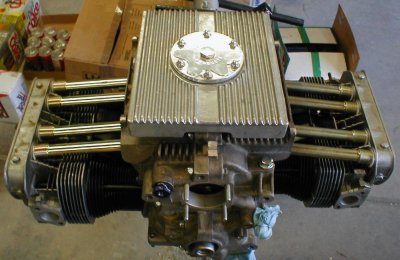
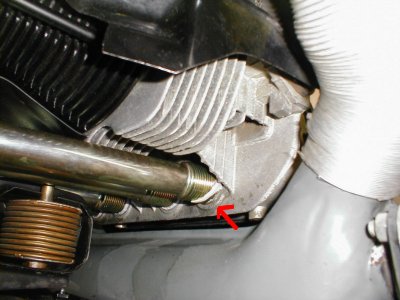
Now that the cooler passed its test, it was time to add one missing piece to it. This piece (sometimes called the "hoover bit") bolts onto the cooler and helps seal up the gap between the bottom of the cooler and the metal around the cooler. I never even knew this sucker existed until I read about it. This piece is most often just left out of engine - this can lead to higher temps!! MANY people MAKE their own from scratch, but I decided I would try to find an original first at my HUGE VW junkyard. Out of THOUSANDS of engine teardowns THIS is the ONLY ONE WE FOUND! It was mine for $5. It was in pretty good shape (just one small crack).
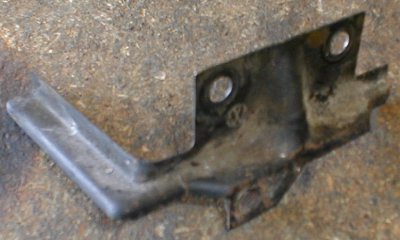
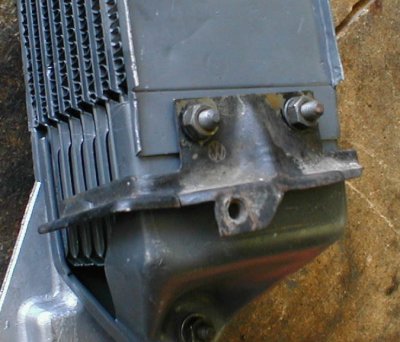
Since I'm using a large type 4 cooler, it was just a little too short (its made for a type 1 cooler).
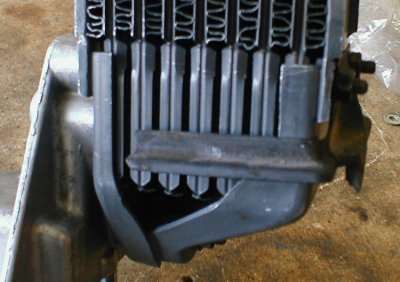
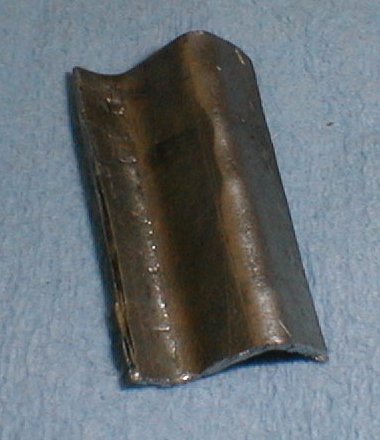
So I bent up this piece and welded it to lengthen the piece.
![]()
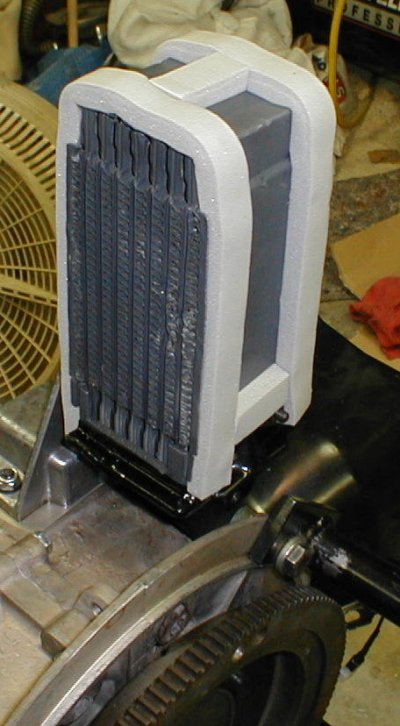
As you can see, I don't apply the weatherstripping on the cooler lightly. It is absolutely necessary to have this stuff on there (one strip in the middle WILL do, but why stop there?????). You can also see my "hoover bit" freshly welded/beadblasted/and painted.
![]()
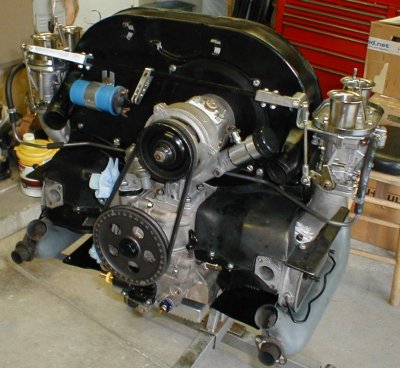
YEP, that's the thermostat that controls the flaps - NEVER EVER build an engine without the flaps/thermostat!!
![]()
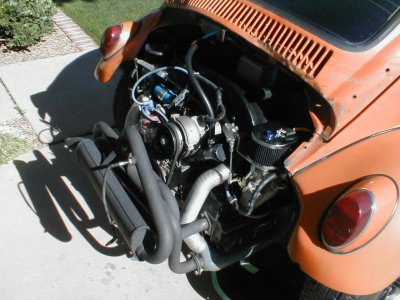
And here the engine is, pretty much ready to go back in the bug! (exhaust left off to make it easier to 'maneuver').
ITS IN! (yeah, I didn't get around to it later....)

![]()
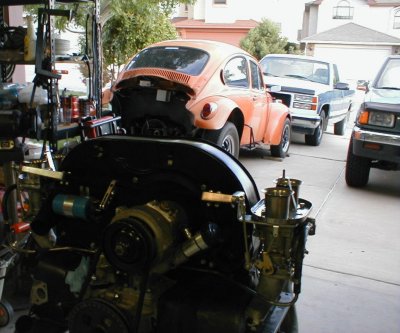
I decided it was a little too late to fire the engine up and break the cam in (20 minutes of revving between 2500-4000 rpm) - might make a few neighbors unhappy LOL!
So the next morning I finished it up (minus the Baja 'trim')
I fired it up in the driveway, and revved it for 20 minutes. After I built the oil pressure up, it started on the first crank! Sounds REAL good! Just a light hint of the straightcut cam-gears whining (but I have heard they will get louder as they break in).
The first mishap was a leaky fuel pump - So I replaced it. Then about 12 minutes into the break-in, the right side valvecover started spewing oil. I decided I had PLENTY of oil, and I only needed it to run another 8 minutes - so I just sopped up the oil and kept going (watched the oil pressure gauge of course!).
After shutting it down, I checked for leaks/problems/etc. The valvecovers DID leak a bunch (easy to fix though). The only other problem I found was that a few of the pushrod tubes 'ate' their seals for some reason... I don't feel like pulling the heads, so I have a set of nice quality springloaded aluminum ones on the way here.
![]()
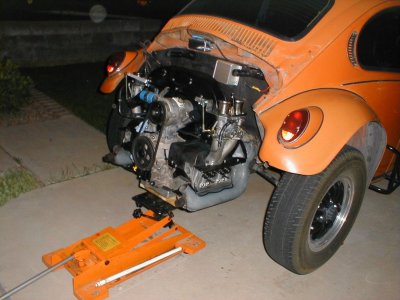
Tonight (the 15th) I have made a temporary bracket for my oil filter, welded vents to the valvecovers, and installed new cork gaskets into the valvecovers, adjusted the valves, and tuned it a little. Tomorrow I will change the oil and take it for a spin :-)
BTW - This engine is SOOOOOOOOOOO SMOOOTH!!!!! Getting the compression ratio real close in each cylinder AND having the entire thing balanced was WELL worth the money!!
![]()
![]()
![]()