![]()
(7/10-15/01): If you remember looking at 'Part 33', you will remember my gas tank had quite a-bit of rust inside that needed to be fixed. I finally got around to restoring it! The job was made a TON easier by using POR's Fuel Tank Restoration Kit (which I got from aircooled.net). The 'kit' consisted of a gallon of marine clean (to clean out the tank with), a quart of metal ready (to etch the metal, and remove rust), the sealer, AND some fuel stabilizer/preservative.
![]()
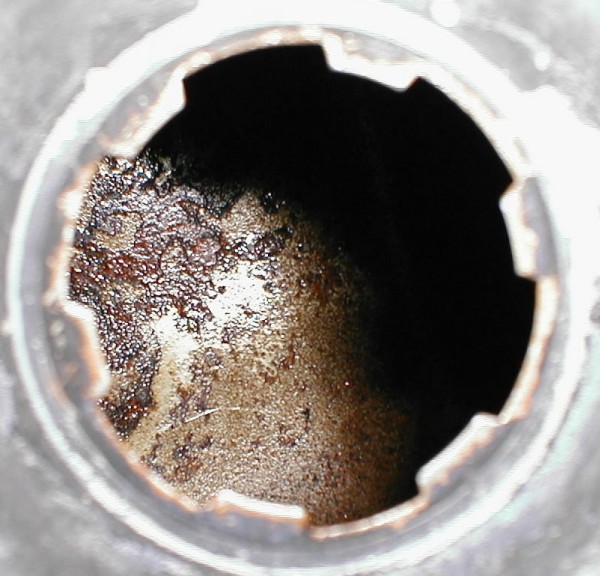
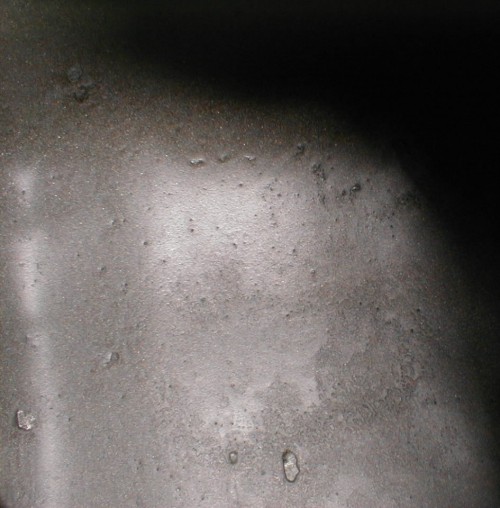
Here is what the inside of my gas-tank looked like right after I drained it, and removed it (this pic is though the sending unit hole). You can see some rust, and a bunch of varnish.
![]()
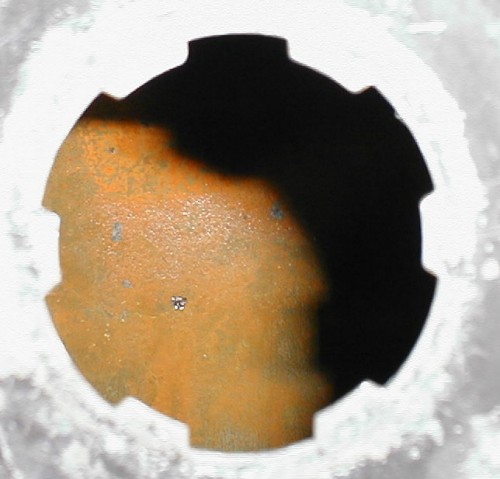
The first thing to do was to mix up a HOT solution of Marine clean and water (1 part HOT water, to 1 part marine clean). I poured this in the tank (about a quart or so -- AFTER I had plugged all the openings), and started sloshing. I let it sit in different positions for 30 minutes at a time, and then finally let it sit ALL NIGHT. The next morning, I drained it, and put some more marine clean and HOT water in it. (I kept doing this, until the solution came out clean). The best way I found to drain the tank, is to use the fuel filler hole. You have to get it at the correct angle, but its the fastest! After the tank is clean, I put a length of chain inside (about 1 foot or so), and started shaking the tank (this is to get all the scaly rust loose). After I rinsed the tank a few more times, this is what the tank looked like:
![]()
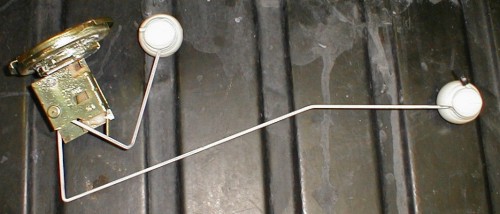
I also took the time to inspect my fuel gauge sender. It is only about 2 years old, and it was in perfect shape, so I re-used it.
![]()
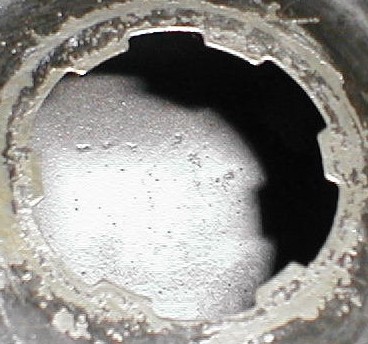
After I got all of the marine clean out of the tank, I poured in ALL of the Metal Ready. I sloshed it a bunch, and then left it sitting at different angles for 30 minutes. Then I let it sit overnight. The next morning, I rinsed it out around 5 times. Now I had to get the tank COMPLETELY dry! (the sealer wont stick unless its really dry). I decided to let it sit for 2 days. After the 2 days, it was bone dry, and ready for paint. I poured the WHOLE CAN of sealer in, and sloshed. After I sloshed for about 30 minutes or so, I checked inside to make sure I covered everything; and I did. Then I drained all of the extra sealer back into the can it came out of (using the fuel filler hole). You don't want ANY puddling of this stuff anywhere, so you must let it drain for about 30 minutes! Believe it or not, by the time it was drained I had almost filled up the WHOLE can again! (The tank only used less than 1/4 of what's in the can!). After it was sealed, I kept it in the garage with a fan running (and the door open) for 3 days (you can put gas in it after 24 hours, and it completely cures in 4 days; I wasn't in a hurry, so I let it cure for 3 days and then put gas in it). This is what the tank looked like after the sealer was dry:
![]()
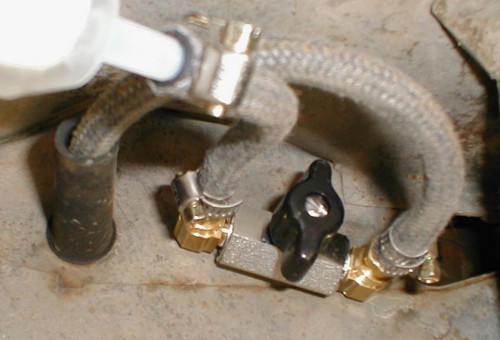
When I put the tank back in the car, I decided it was a good time to replace ALL of my rubber hoses, and filter; so that's what I did! I also installed a fuel cutoff RIGHT UNDER the gas tank (I was tired of changing out a fuel filter, and getting soaked with gas in the process). Here's the pic of how I set it up:
![]()
That's
about it! It DOES take a while do get the whole thing done, but it IS
worth it. No more rusty tank :-)
![]()
