![]()
(10/19-20/00): The 36 h.p. fanshroud that I ordered did
not come in, and later I found out it was not what I really wanted anyway.
I decided to modify my own. I already had 3 complete ones sitting in my
garage, so I decided to make one that fits, and works. I decided it would be
easiest to actually separate the front of the fanshroud from the back. All
you have to do Is drill out all of the spot welds, and whala!
I
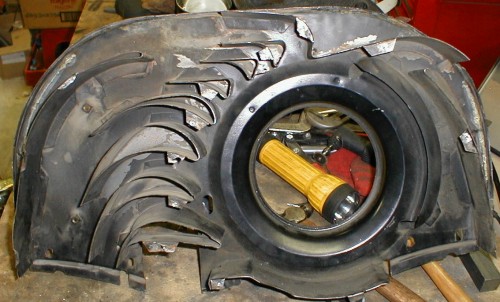
took a normal 60 h.p. Doghouse fan shroud and started modifying. The big
problem that I was having is that my Dual Weber 44 IDF's (carb's) would not
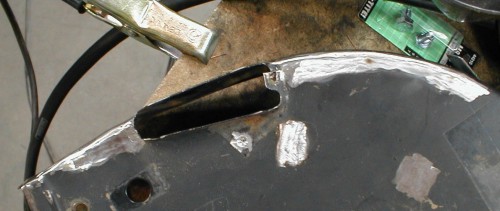
clear the "bump" in the fanshroud. So I decided to cut mine
out. With plenty of time, a dremel, a welder, and some patience this is
what I came up with: Keep
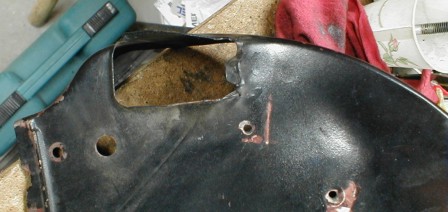
in mind, this is what It looked like before:
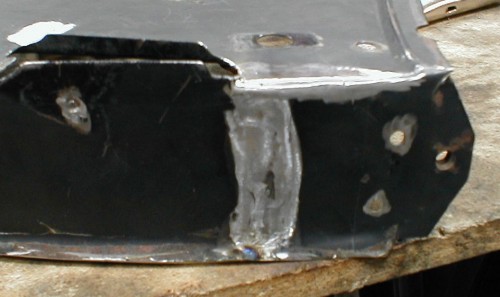
This is where the two pieces came together after I took out the bump.
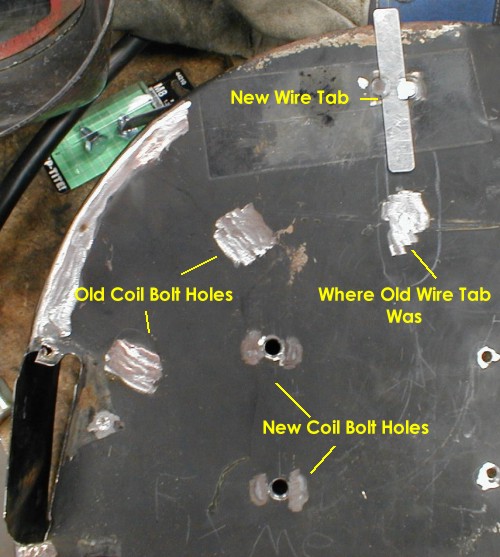
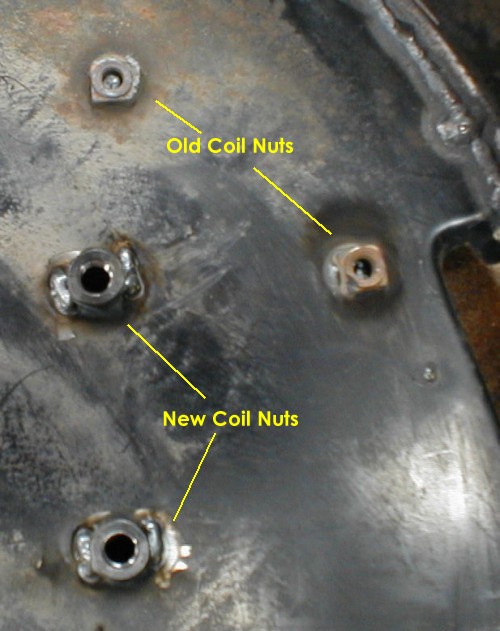
I also decided to do some other modifications. I needed to weld up the
old bolt holes, since my coil would not clear the crossbar (linkage for the dual
carb's). Then I relocated the coil bolt holes down, and horizontal in
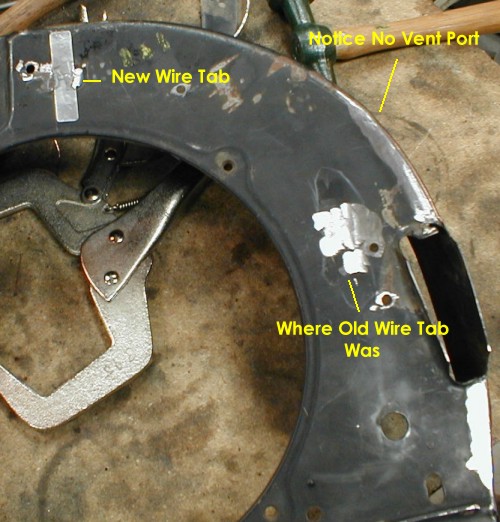
layout; This clears the crossbar perfect. I also had to remove the old
wire tab, because it was right behind the crossbar. I welded a new wire
tab up a little higher.
Since I separated the front and the back of the fanshroud (not all that hard;
just drill out a bunch of spot welds), I was able to weld new reinforcing nuts
for the new coil mounting location.
Here's the mods I did to the other side. I again relocated a wire tab,
and I also removed the old Port that connected to the old air cleaner.
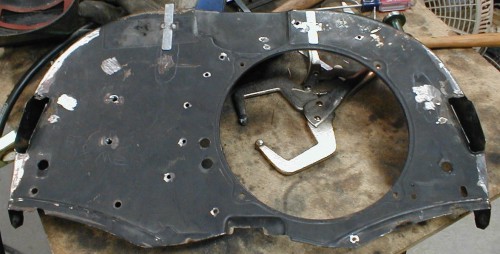
Here's what the outside-front of the fanshroud looks like:
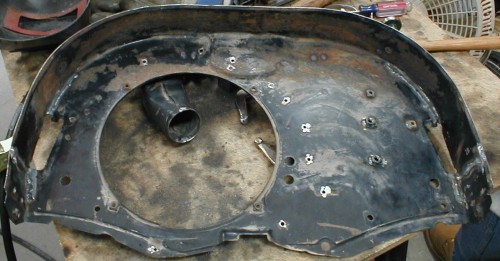
Here's what the back looks like:
Now
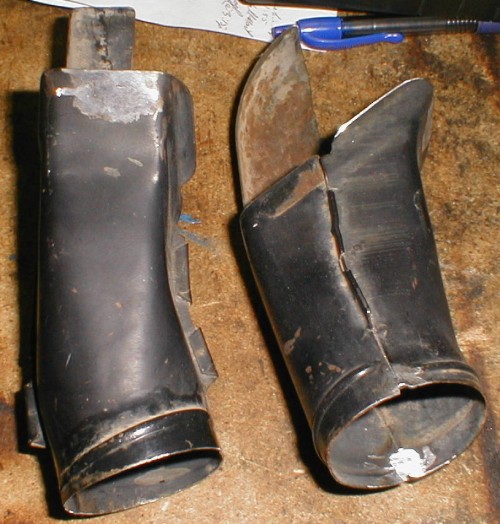
that I was to this point, It was time to modify the heater outlet tubes.
If you noticed In my earlier pictures the holes for these tubes' scoops was cut
in half. I didn't want to cut the whole tube down, so I just cut the
scoops, in half. I will weld these back on later. (BTW, I have a couple
heater booster blowers, so the reduced air traveling down these tubes wont make
the slightest difference). Here's the other piece of the fanshroud. It was modified in the same
way, to remove the "bumps".
Stay Tuned for part 24, where I make sure everything is going to fit on the
engine!
![]()
![]()
![]()
![]()
![]()
![]()
![]()
![]()
![]()
![]()
![]()
