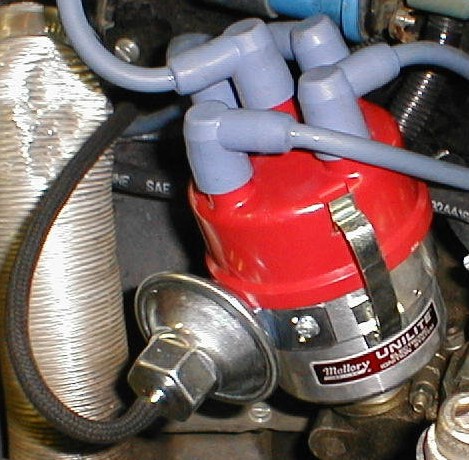
(7/20/01): Finally installed my Mallory Unilite Optical
Distributor with Vacuum Advance (what a mouthful)! This is the MASTER OF
ALL DISTRIBUTORS!!! Its FULLY ADJUSTABLE. In one word AWESOME!
I'm not going to go through a full "how to install....", I'm just going
to touch on a few of the highlights. I got the unit from www.aircooled.net
and I ALSO bought the tuning kit for it (which IS A MUST HAVE).
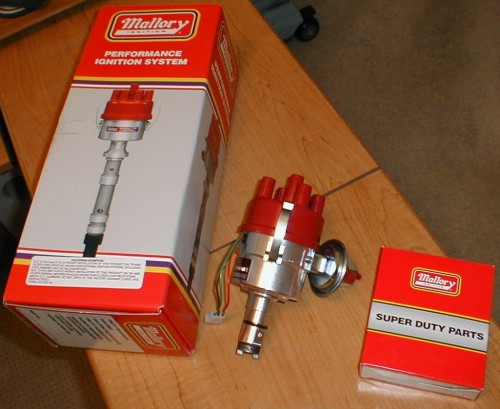
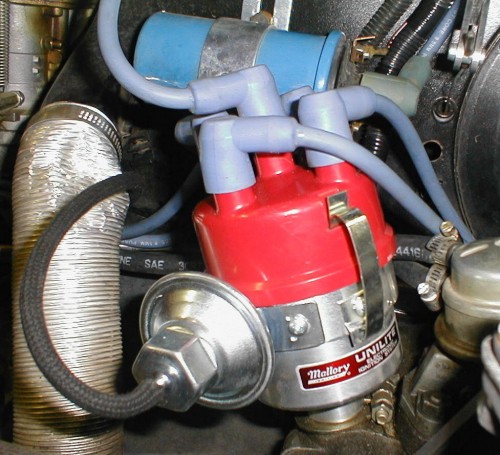
This is what the distributor looks like out of the box. (the little box in
the pic is the 'adjusting kit').
The first thing I did when I got the dist. was to change out the advance
springs... To get to where the springs are at the bottom of the dist., you
DO have to pull the distributor apart a little. First pop off the cap, and
then take the rotor off -- TIP: the first 20 times you take of the rotor it will
feel like it is WELDED in place! (seriously). You WONT be able to take it
off with your hands! Set the dist. in a vice, and use two flat
screwdrivers to **carefully** pry it off. Mine creaked a bit, but it didn't
break. Once the cap is off, you need to pull the 'c' clip from where the
vac. can attaches to the 'peg' (IF you bought the Vacuum advance unit).
Once the 'c' clip is off, you can take the two screws out that hold the vac. can
in; just set the vac. can aside for now. Once that is off, you can loosen
both of the small setscrews that hold the hole base unit (optical pickup, wires,
etc.) and slide it out (since the wires will still be attached, just kind of
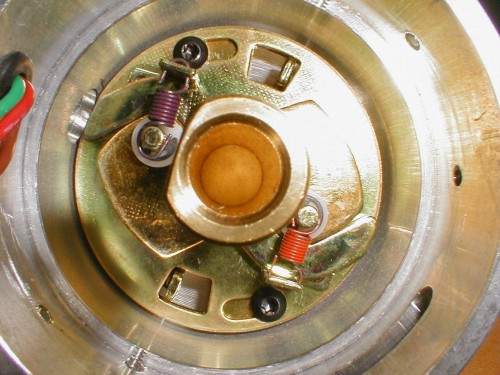
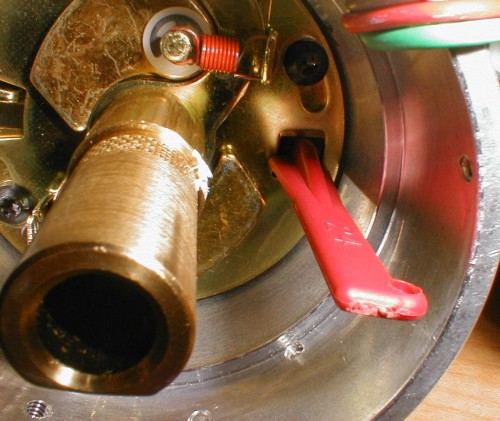
hang it over the side). Once that is out you are there! Below is
what it should look like. You can look at the instructions in the 'tuning
kit' and check out all of the curves that the different springs give you.
I decided that a purple and orange would to best for me; so that is what I
installed.
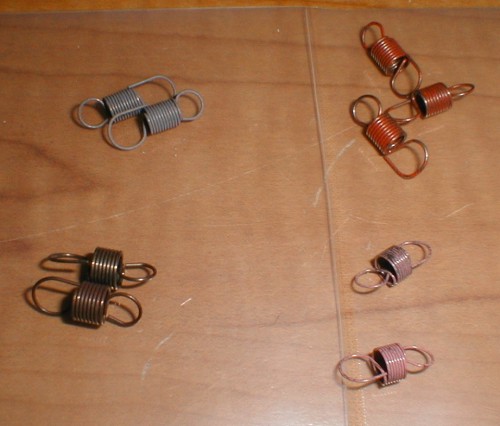
In the 'tuning kit' you will have plenty of spring variations to choose from:
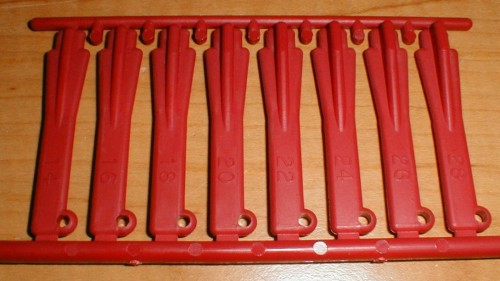
The next thing to adjust is the max advance. That is done with a series
of 'spacers' that also come in the 'adjusting kit'.
First you need to figure out where you want to idle, and where you want to be
at max rpm (in terms of advance). Normally in a Bug, you want to be at
about 7 deg. at idle, and about 32 deg (with vac. disconnected) at max
rpm. With a little calculation we find that we will need 24 more degrees
of advance to get from our idle of 7, to our max of 32. Therefore, we
adjust both of the 'tabs' with the #24 spacer as shown below:
Once that is done, put it back together, install it, adjust the timing, and
connect your vac. line. If you have dual carbs (like my dual 44 IDF's, you
will want to run a "T" and connect the vacuum canister to that.
Adjusting the vac. advance is EASY! With a timing light 'in hand' REV up the
engine pretty high, and check the timing. You want 42 degrees TOTAL
advance WITH the vac. line connected! If it isn't up to 42, or is over 42,
all you have to do is pop the vac line off the dist., and stick a hex wrench in,
and turn the screw inside and try it again (keep doing it until you get 42
deg). NOW DRIVE IT! It may need to be adjusted several more times to
be PERFECT.
Its a little expensive, and a little time consuming to adjust, but if you
want THE BEST - THIS IS IT!
![]()
![]()
![]()
![]()
![]()
![]()
![]()
![]()
![]()
