![]()
Today (8/10/00) I Removed the old brake Master Cylinder, and installed the new unit. It wasn't leaking, and was working good (afaik), BUT its cheap insurance to replace it with a new one!
![]()
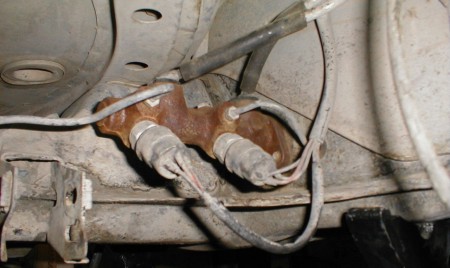
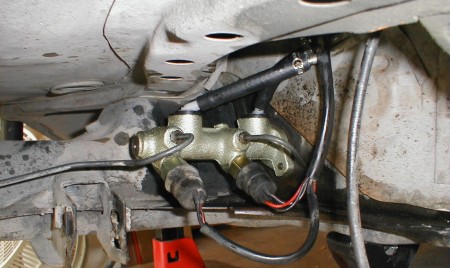
Here's what the old master cylinder looked like. The two lines coming off of the very top, connect to the brake fluid reservoir. The two metal lines, below the top ones, feed the front and rear brakes. And the two round things, with wires coming off of them, are the Brake light switches.
![]()
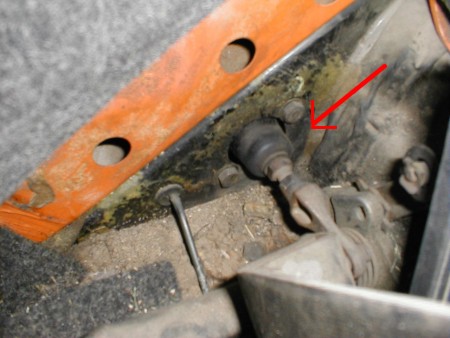
Here is what it looks like from the inside. The arrow is pointing to the other end of the master cylinder. This is where to pushrod goes through (its connected to the brake pedal). The two bolts that you can see are basically the only thing that holds the master cylinder in.
![]()
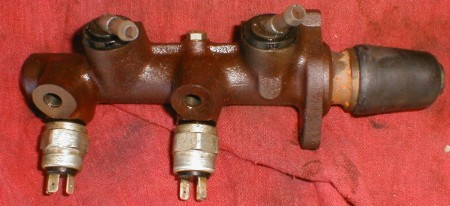
This is what the old master cylinder looked like once I removed it.
![]()
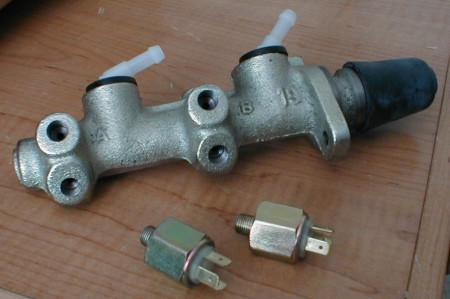
This is what the new master cylinder looks like. Below it, are the new Brake light switches.
![]()
This is what it looked like once everything was installed. The 2 small portions of rubber hoses, I replaced (just in case). And I also put a little Silicon Dielectric Compound on the connectors of the brake light switches (to keep them from corroding). You can also see how it kinda looks wet around there... Lets just say that brake fluid comes out of the lines quicker than you can plug them :-) It'll dry off eventually.
![]()
That's it for know... Currently, I'm waiting on a few rubber parts (which should be here soon) before I can put everything back together. (PLUS I may have found a lead on a NEW steering box...) Stay tuned for part 5!
![]()